I thought that I had uploaded the process for this piece when it was only a drawing. But maybe not, I couldn’t really find it. In any case this is the final painting which was first drawn traditionally then painted over with Photoshop. Traditional X Digital. This is going to be a long post… Hope you enjoy (๑ ˊ͈ ᐞ ˋ͈ )ƅ̋
The original drawing was made quite a while ago but I don’t remember when exactly. Looking at the picture properties it says it was on May of this year but I’m pretty sure it was at the very least done last year… In any case I was thinking of doing it traditionally but cleaning it wouldn’t be enough to erase my mistaken lines. So I decided to hold off till I could paint it digitally in a competent way.

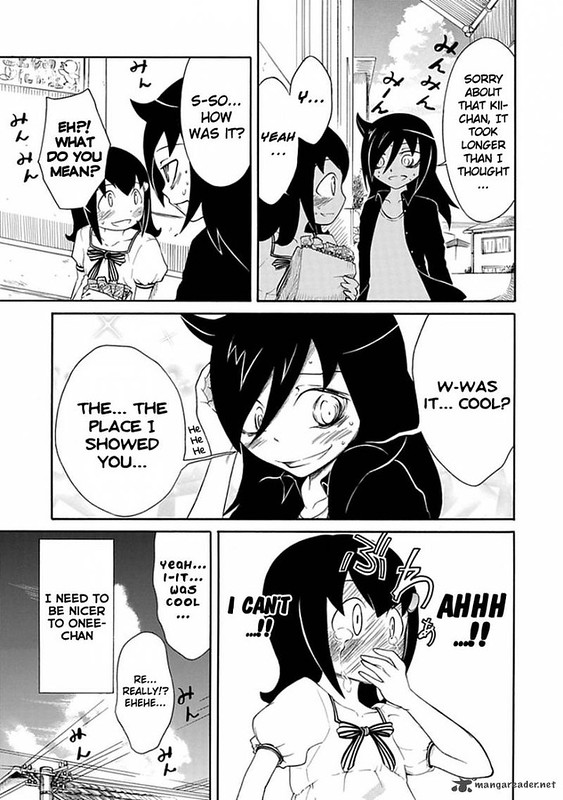
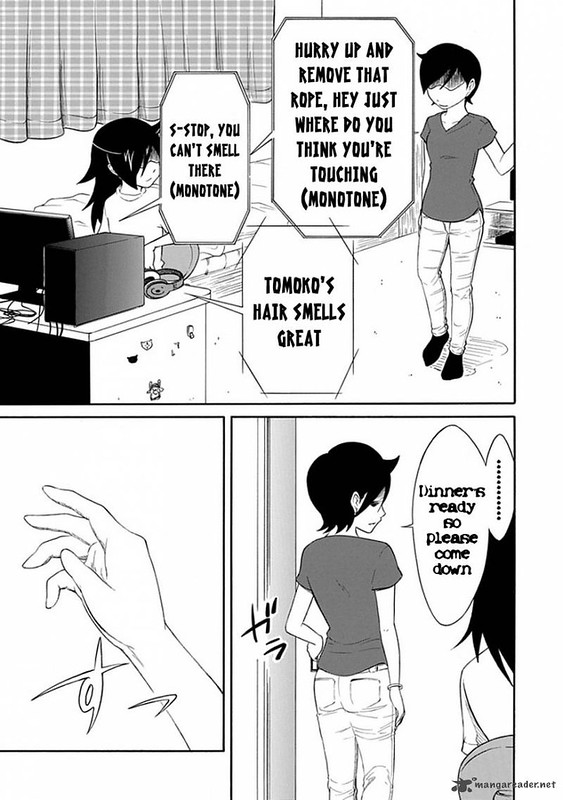
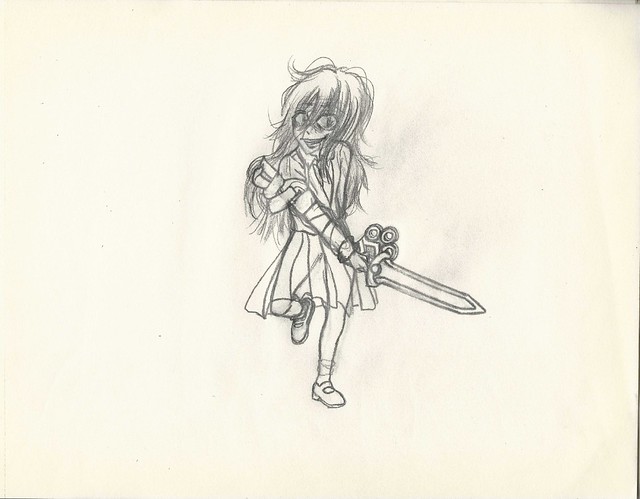
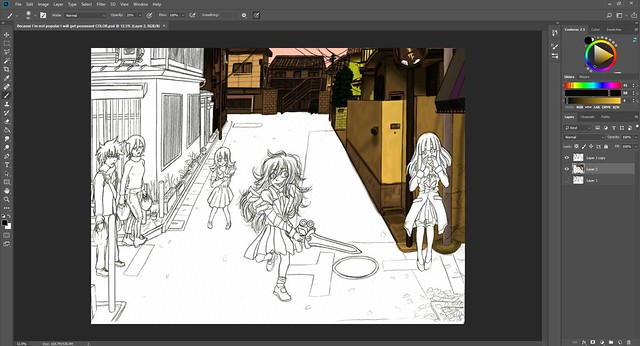
This is the line art (which I later had to clean digitally… that took a while (๑⁺᷄д⁺᷅๑)◞՞):

References used:


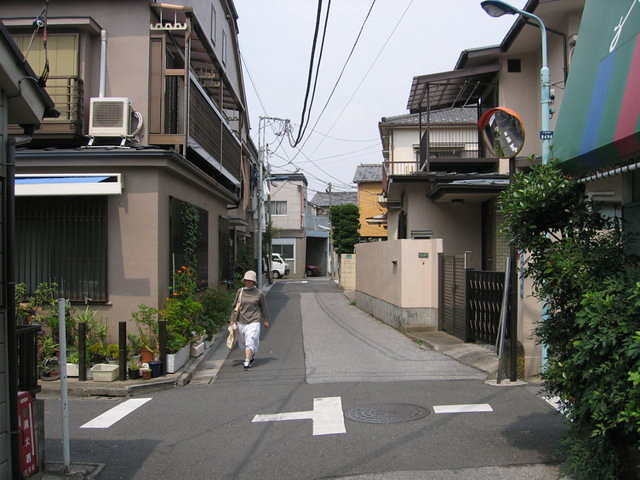
This is the neighborhood photo I used for reference (I had edited the colors using Photoshop but I made the mistake of not saving it…. ◍´Д‵◍ )
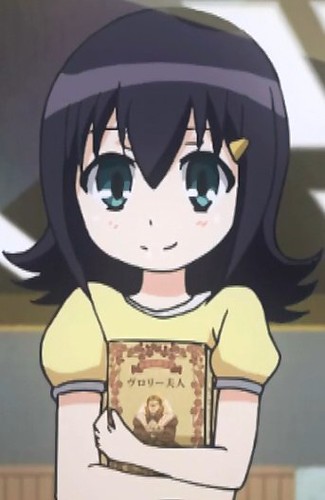
I wanted to use this color scheme at first, but did use it for inspiration over all.

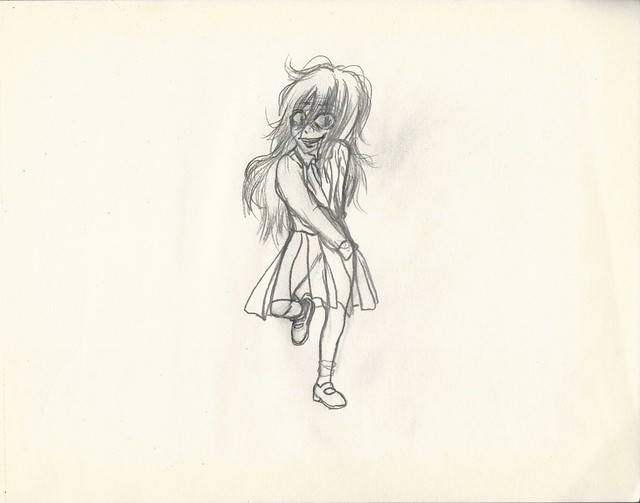
Rough draft (this was the original idea I had and worked from this):


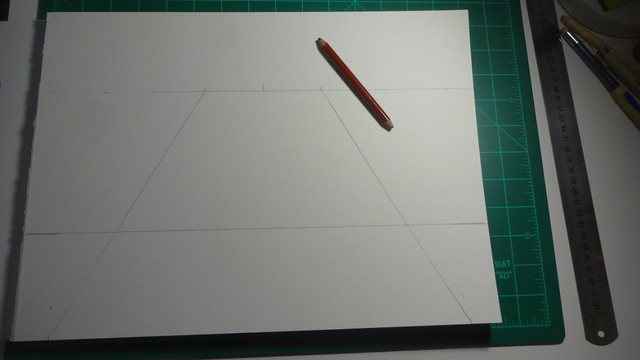
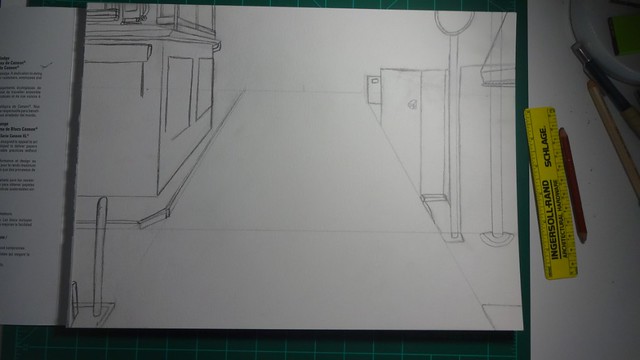
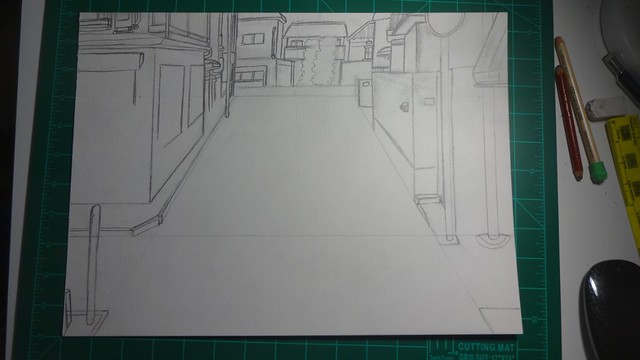
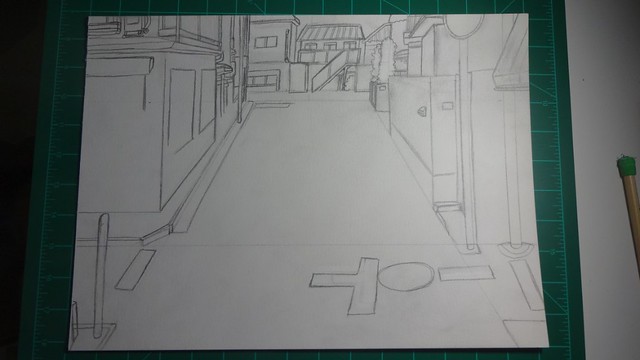
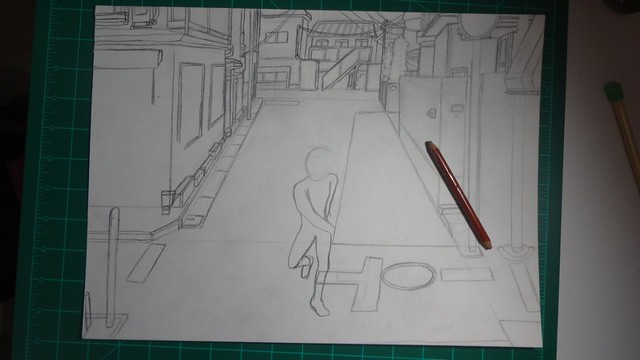
This is the drawing process (Looking at the placement and tools, this truly was a while ago):


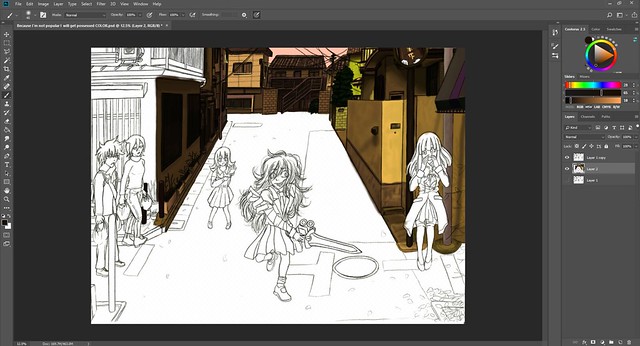
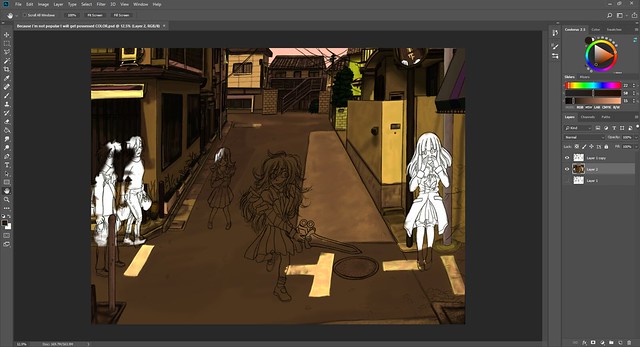
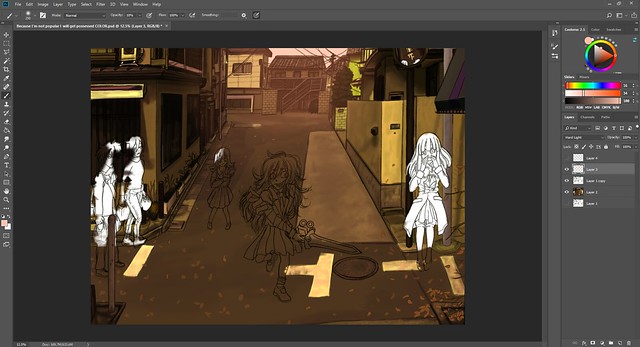
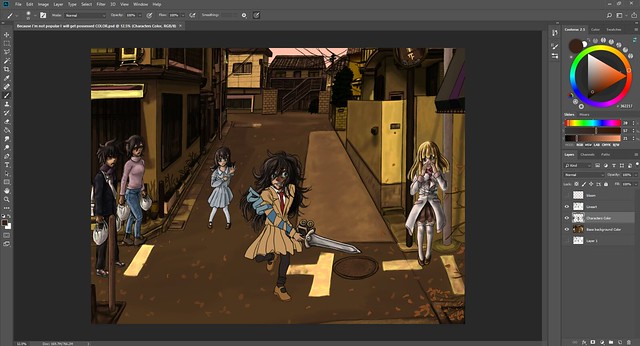
So with the drawing done, finally after so many … months… here is the color process:

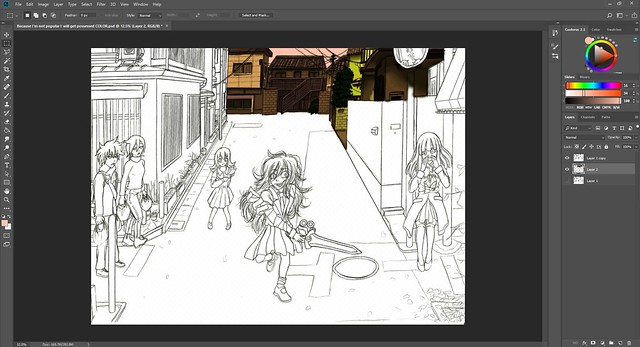


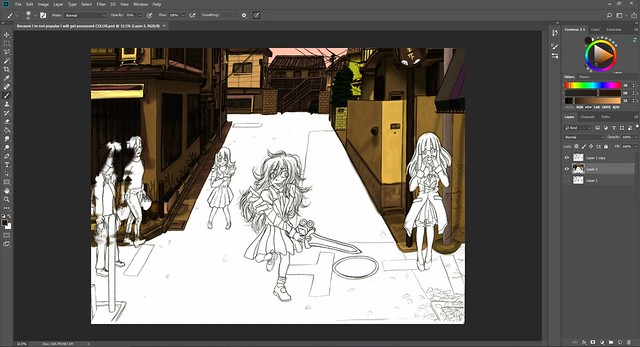


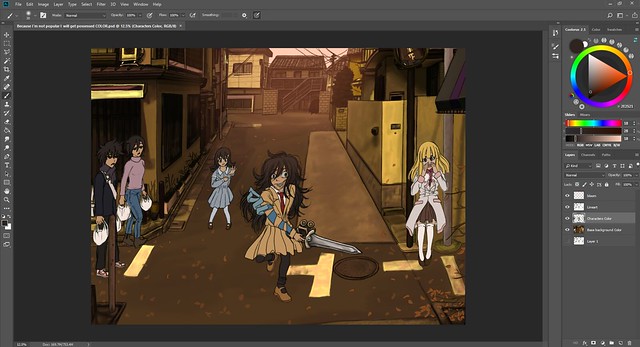
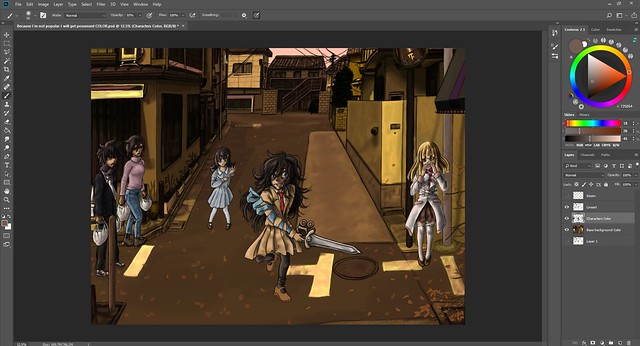
So at this point I remembered and figured it would be as good time as any to finally fix Yuu chan who I drew too big. If I remember correctly this was one of the reasons I decided to paint it digitally.


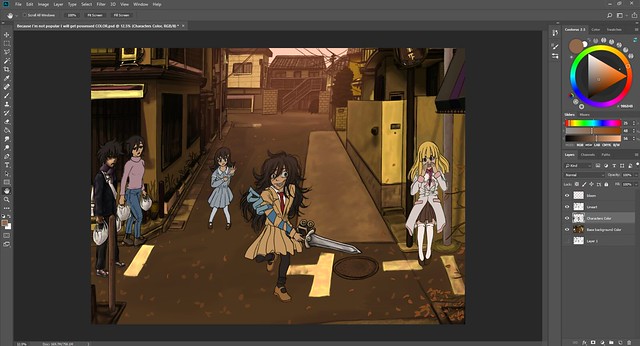


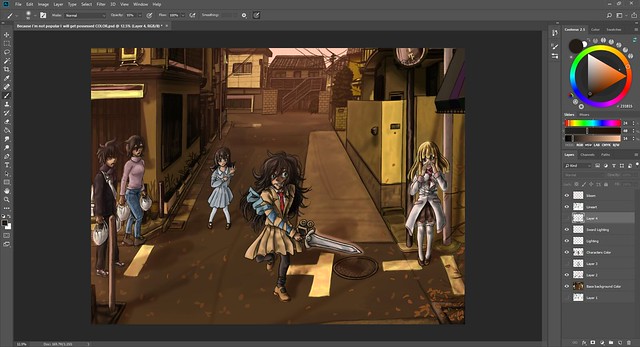
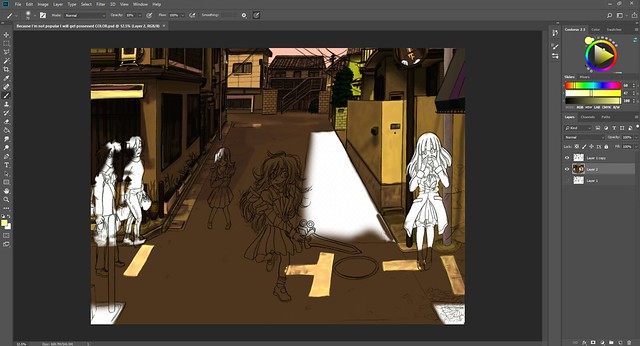
Phew… 〝〇〟⊂(`・Δ・´)⊃〝〇〟
That should be all.
Hasta la proxima,
-NUBE

Leave a comment