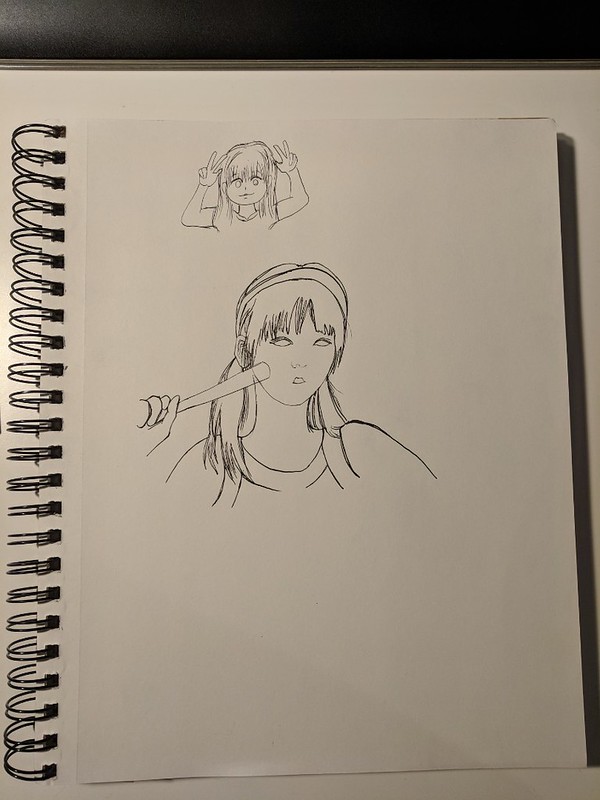
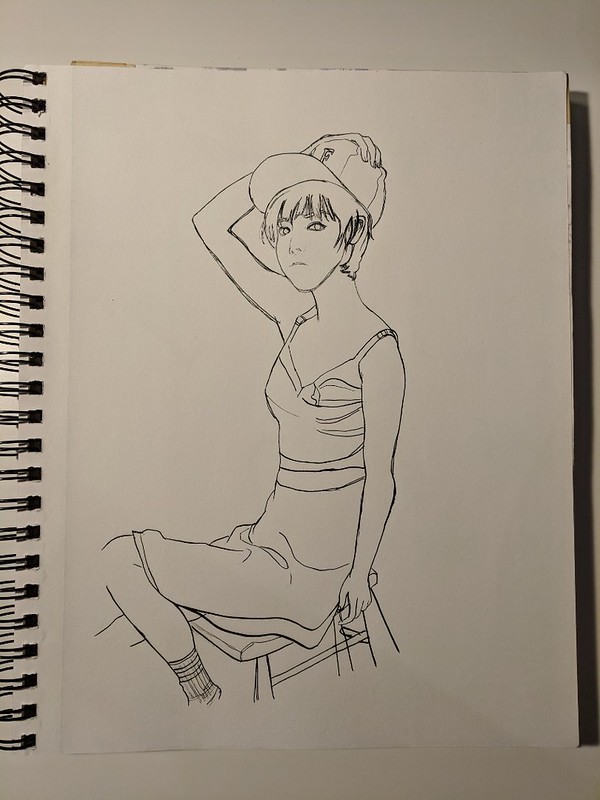
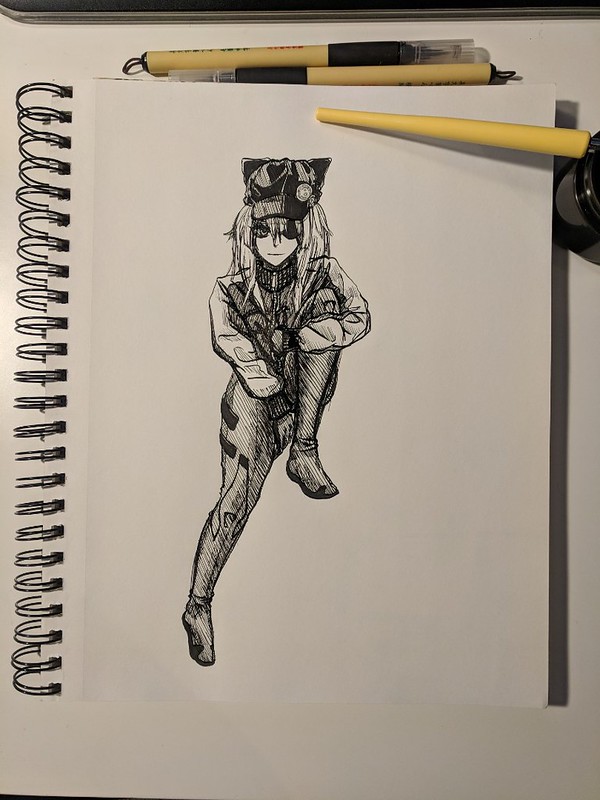
By now it’s obvious that I am a big fan of Morning Musume, specifically the Platinum Era (don’t really keep up with the new generations after my favorite members left). So since it was the 5th day of October I decided to choose a 5th generation member, and of course it would have to be Takahashi Ai who really made me want to learn more about Morning Musume. I was in high school when I came across this Japanese music video of a group of girls singing. I didn’t know who they were but they captured my interest right away. There voices were all different from each other and the music was really energetic. The girls themselves were incredibly cute but there was one member who just captured my attention. She had short hair, a beautiful smile and a voice that left me amazed and wanting more. I chose this drawing based on the scene that really stuck out and I had in my mind whenever I thought about Mikan.
Prior to this I wasn’t really interested in Idols, but this MV really changed my perspective and for a time really got me involved in the world of idols which made me see their struggles, work ethic, and triumphs. I’d say it had a big impact in my life. Whenever I went to a place like the summit of a mountain or of the tallest sand dune after the struggle to hike up it I had this urge to just play and listen to Mikan while I rested atop that accomplishment thinking, “I did it”. (Does this even make sense?)
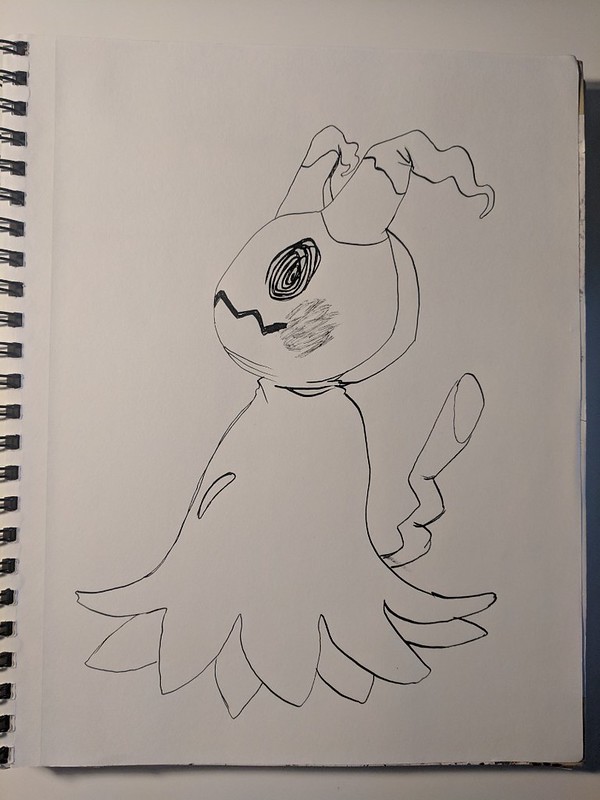
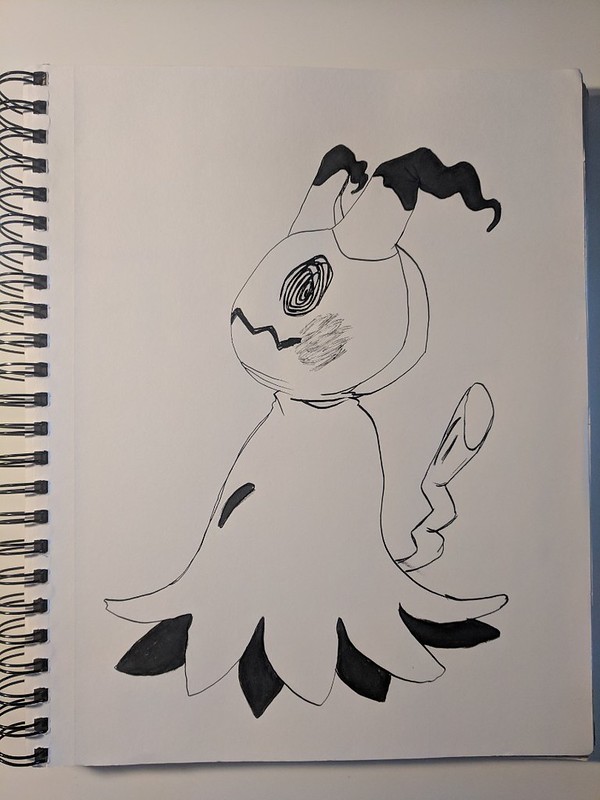
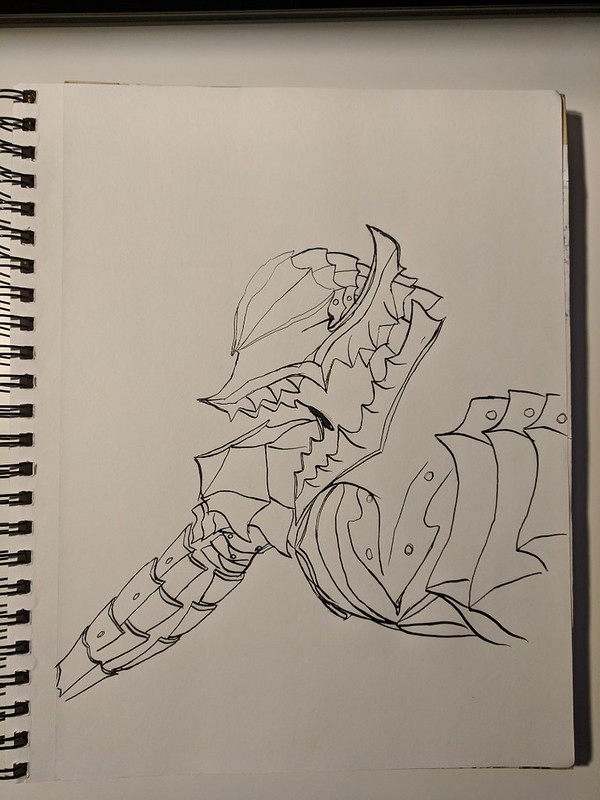
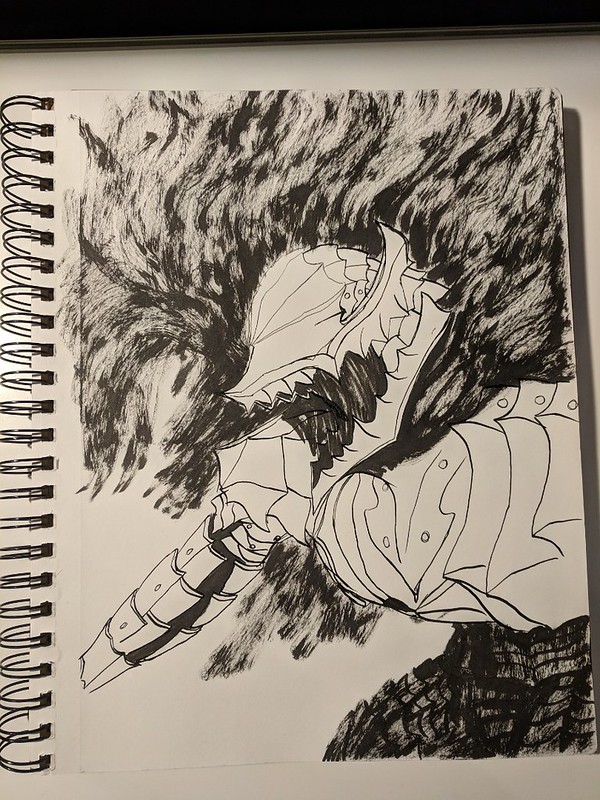
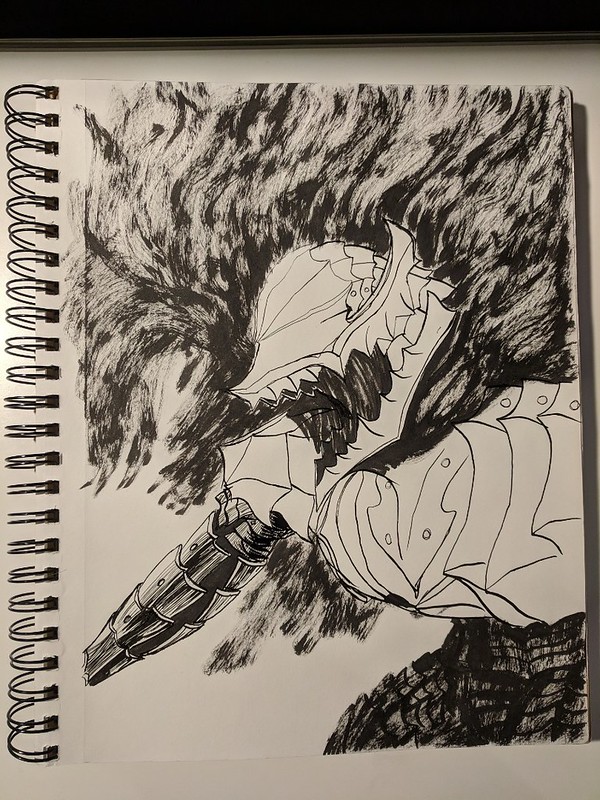
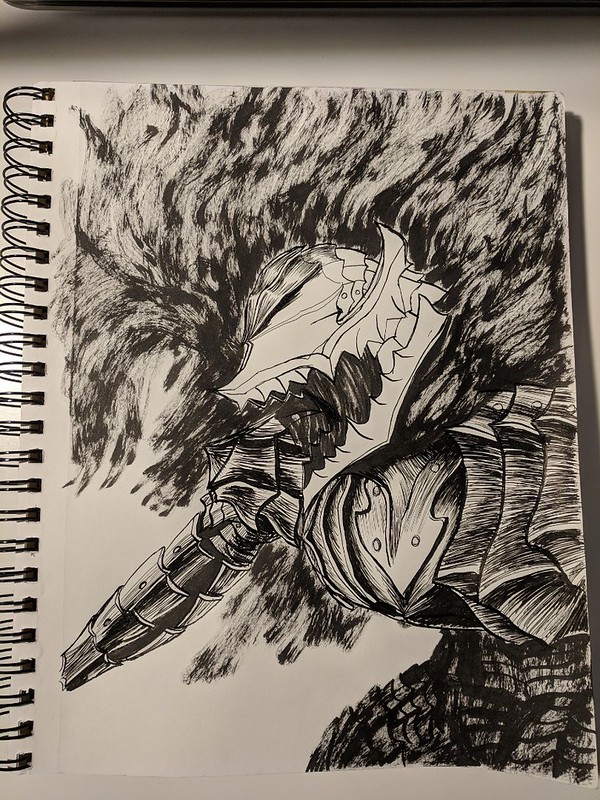
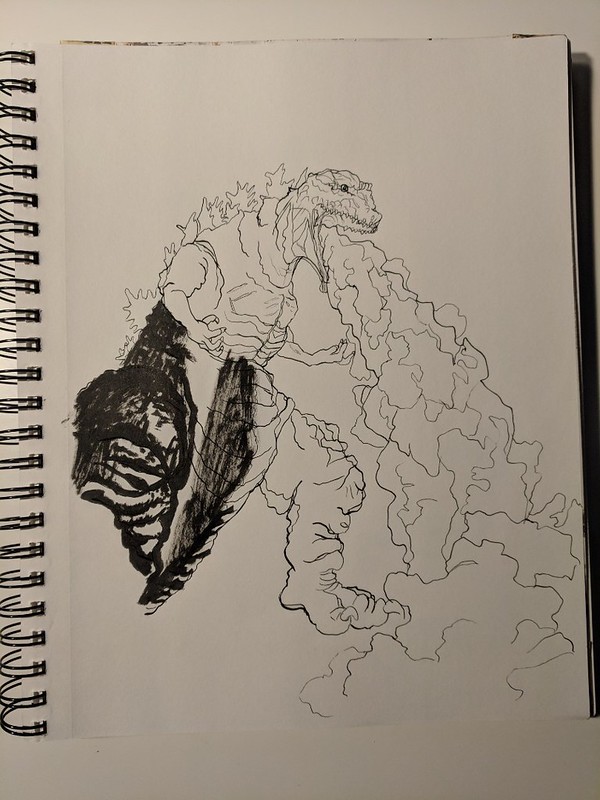
Sadly I was super busy so I started drawing this piece really late at night and ran out of time. That was a mistake because I decided to use some brush pens that I forgot I had for … well some years now I guess. They are the Koi Coloring brush pen set from Sakura. This set contains three different values of cool grey and three of warm grey. One thing I should have done was to choose to use either the cool or the warm but not both.
Seeing as I was low on time, maybe I should have left it like this. Or went with the hatching technique to add shadows.
https://www.flickr.com/photos/darkcloudxero/44216690015/in/dateposted-public/
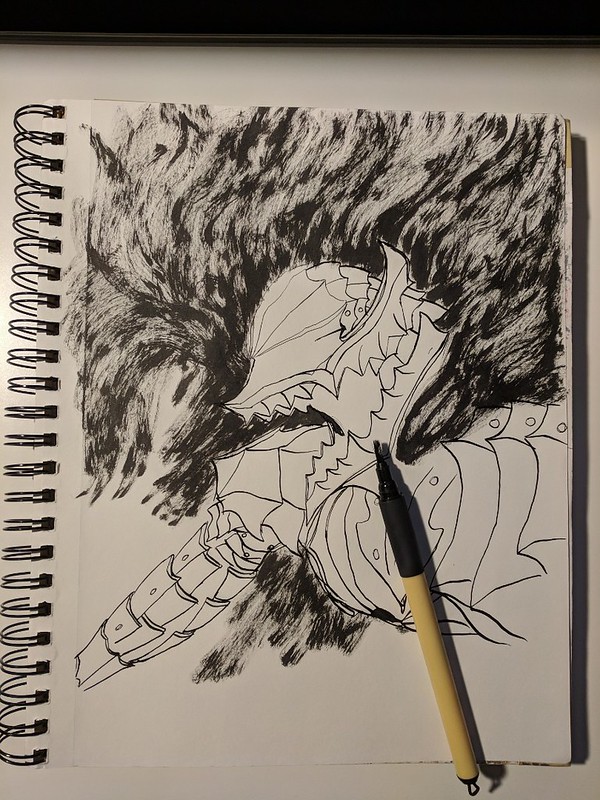
But once I added these black areas the values changed dramatically so I had to continue. Plus I was intent on giving these brush pens a try.
https://www.flickr.com/photos/darkcloudxero/44216689935/in/dateposted-public/
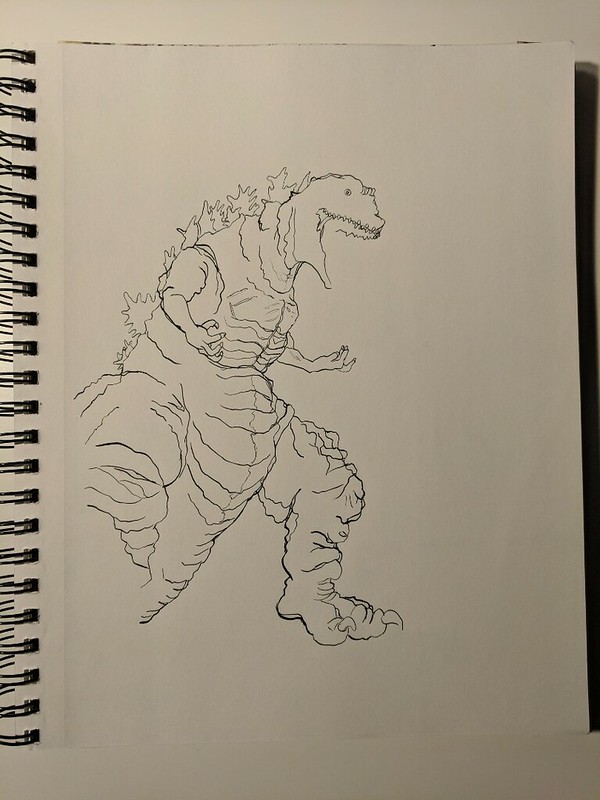
It’s going alright but really rough and unfinished/ weird, I just had to keep pushing it even further.
https://www.flickr.com/photos/darkcloudxero/44216689915/in/dateposted-public/
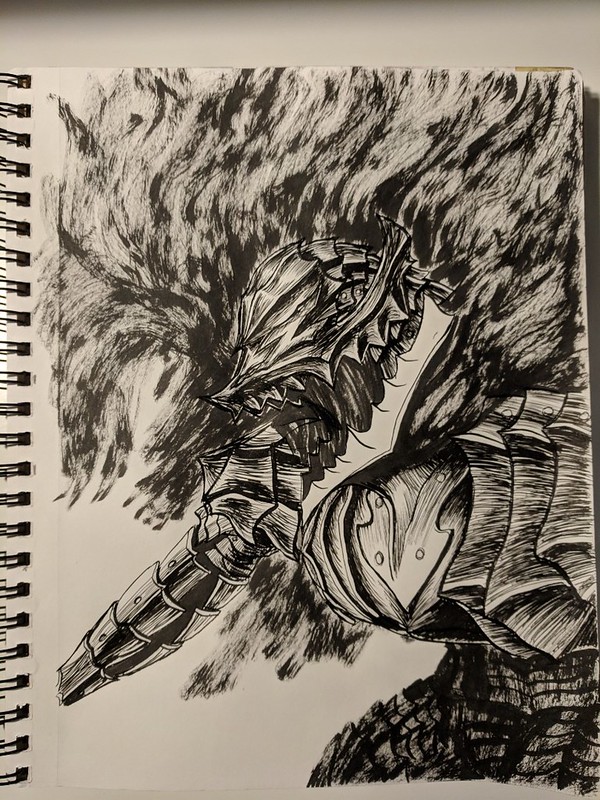
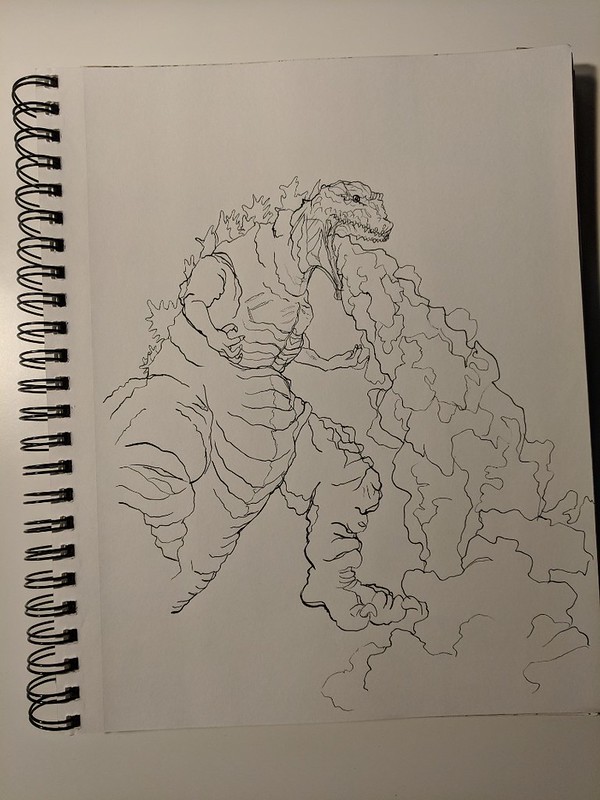
So I added more shadows… But, well it’s just unfinished. I ran out of time, in a few minutes it would be the 6th of October and I had to go to sleep as well. So with that I had to call it quits and this is what I ended up with. It’s so close to being finished and looking right, and yet it isn’t. Because I added these shadows I changed the values quite a bit, thinking now I could fix it by adding darker values in other areas to lighten the shadows on Ai’s face. I will leave it like this since I believe it is in the spirit of this challenge to live with the difficulties and mistakes one makes along the way.
One other that could have helped was to make thicker lines in certain areas to make the areas that I wanted to appear lighter, well, lighter.

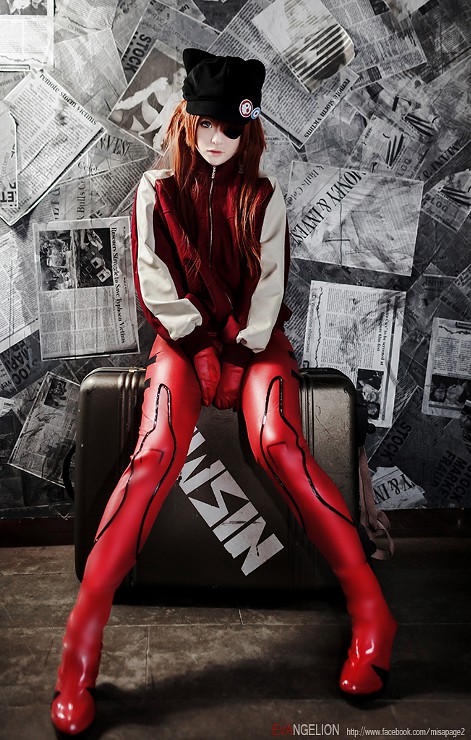
Here is the reference I used. I took a screen grab from the MV Mikan:

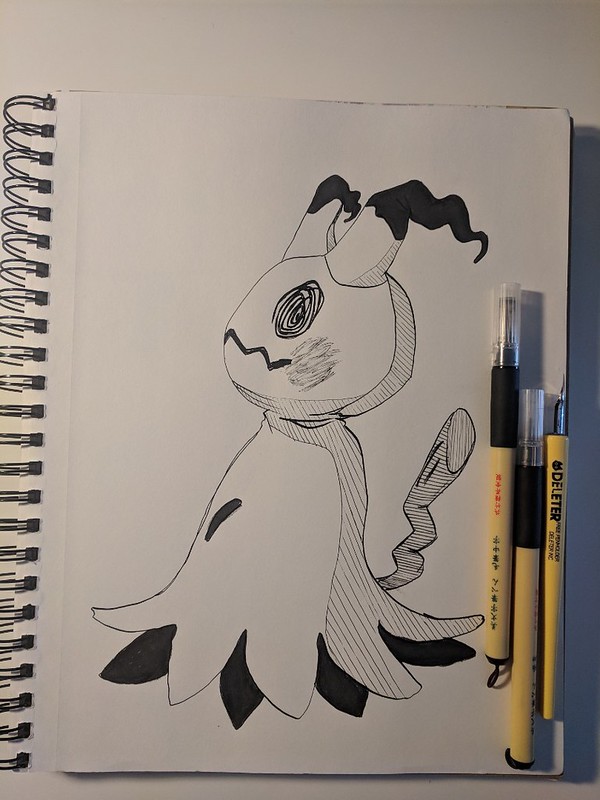
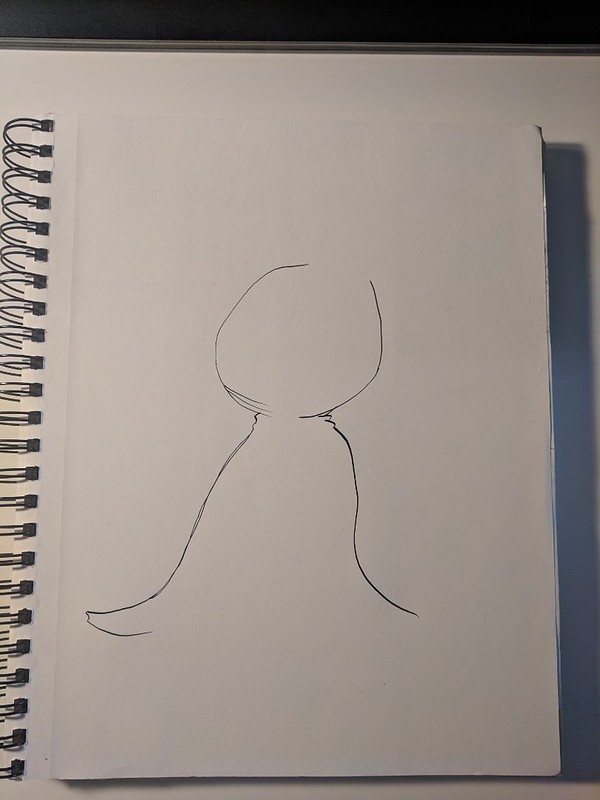
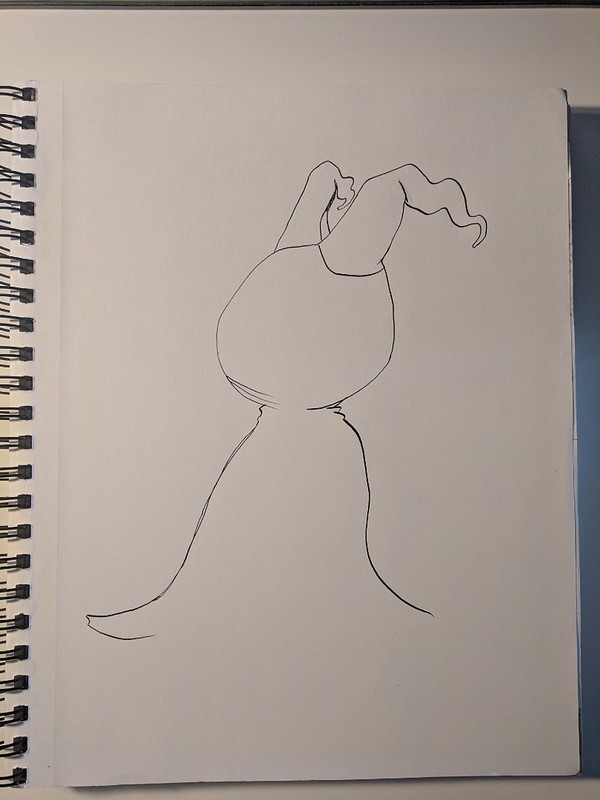
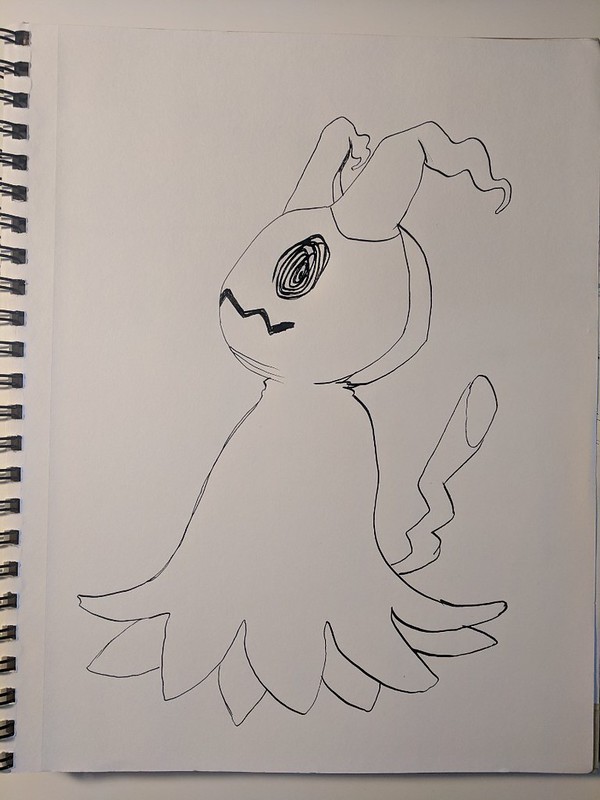
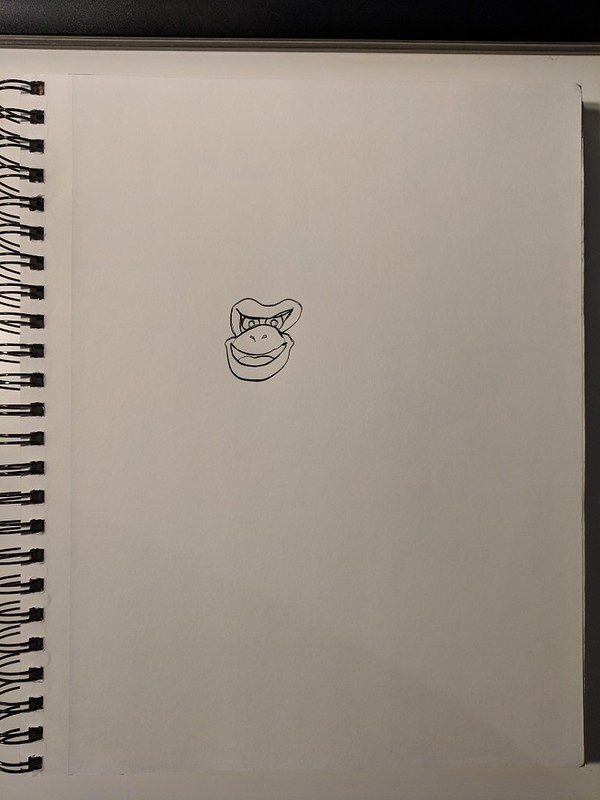
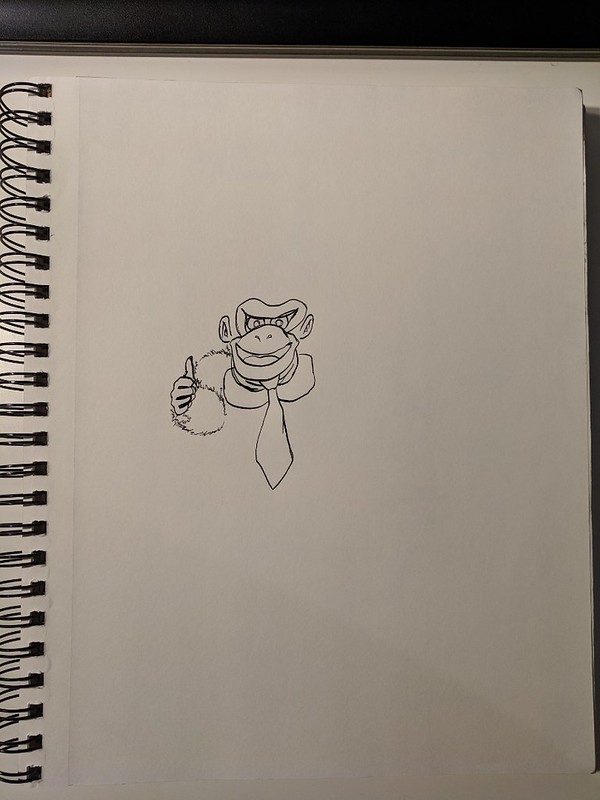
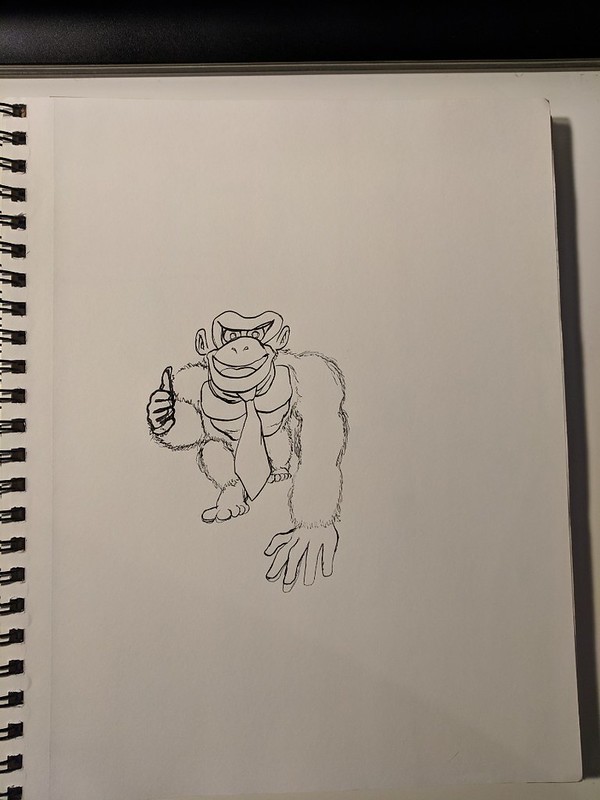
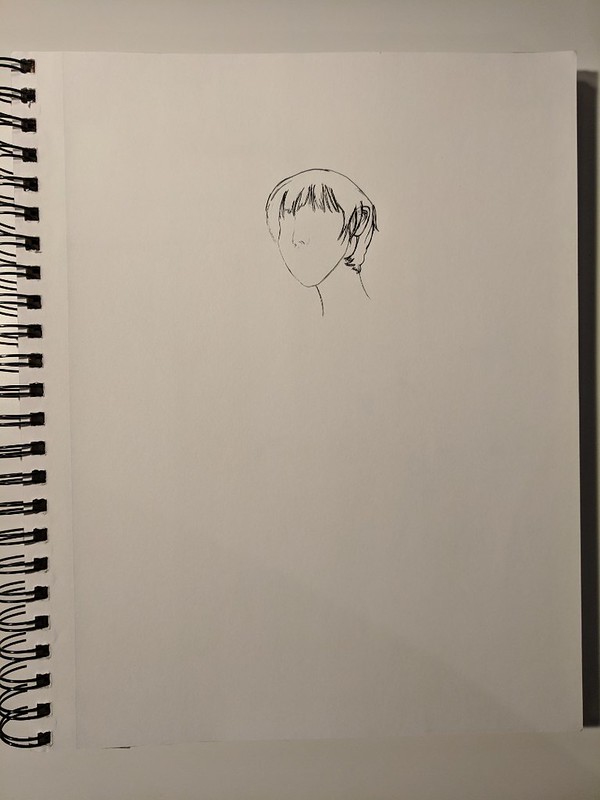
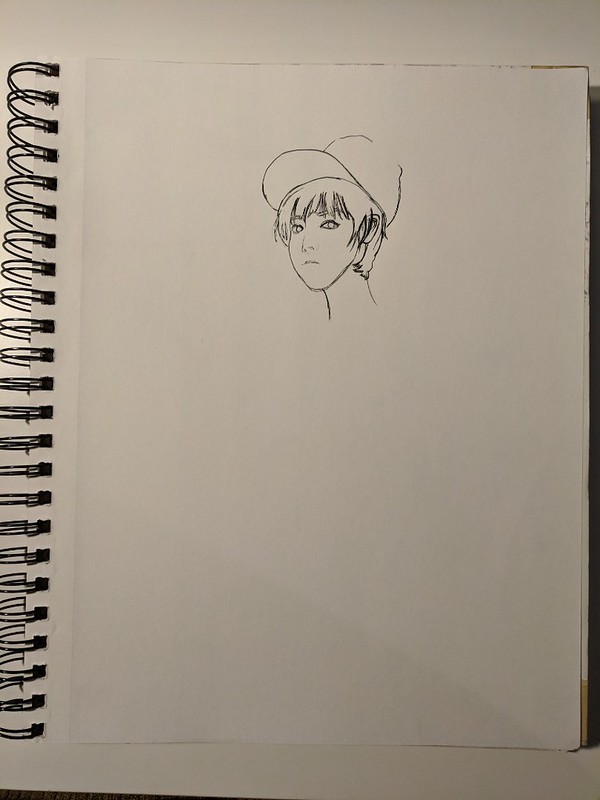
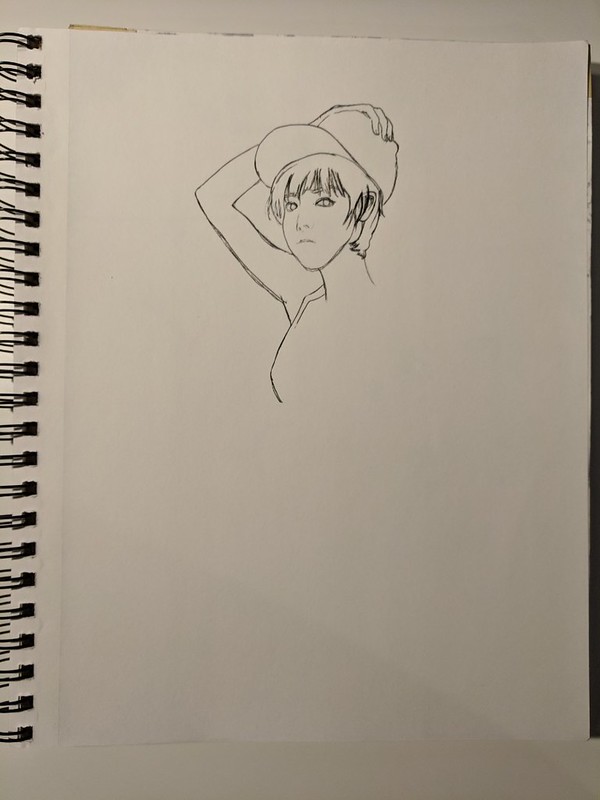
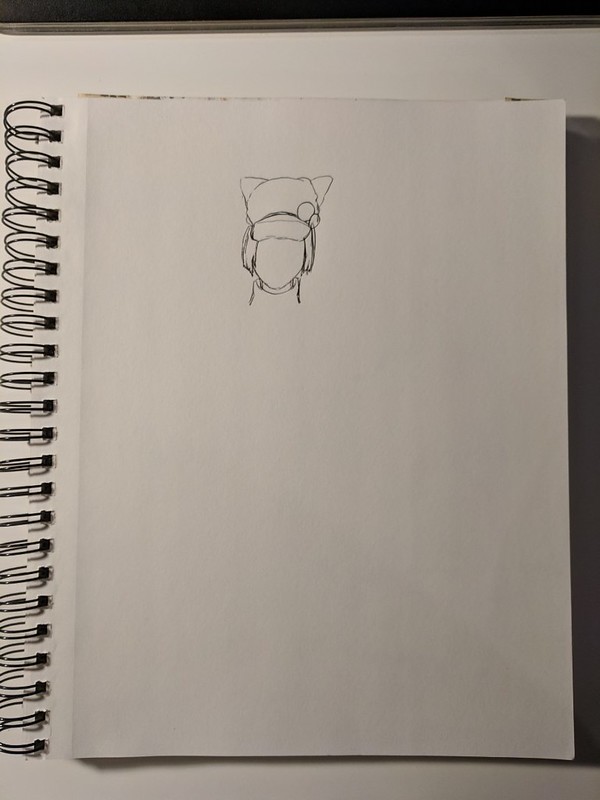
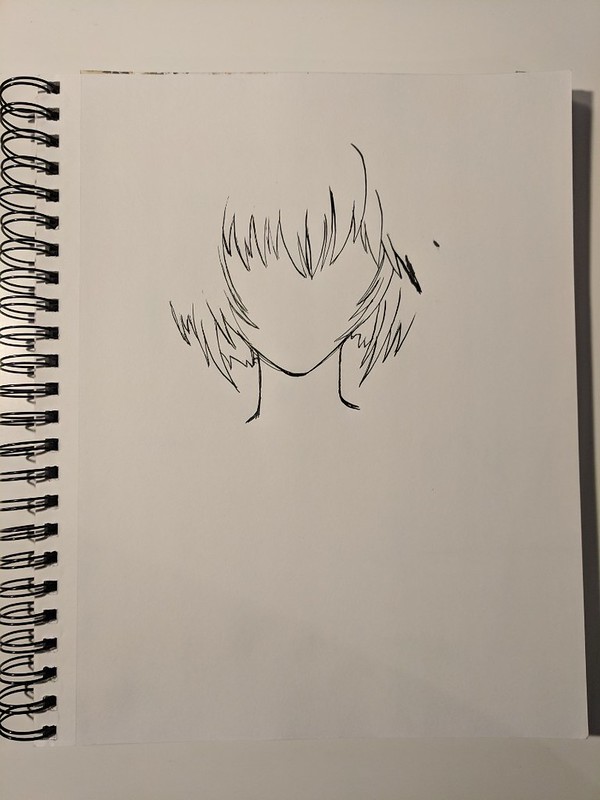
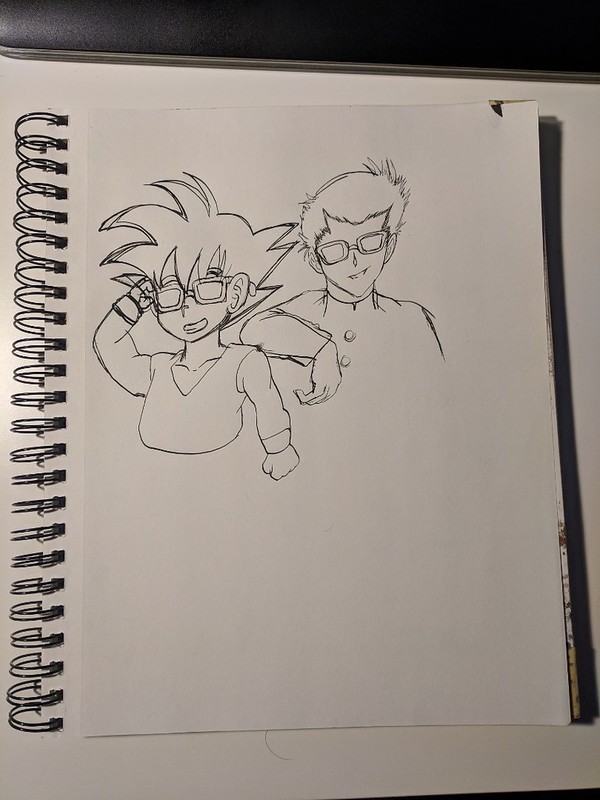
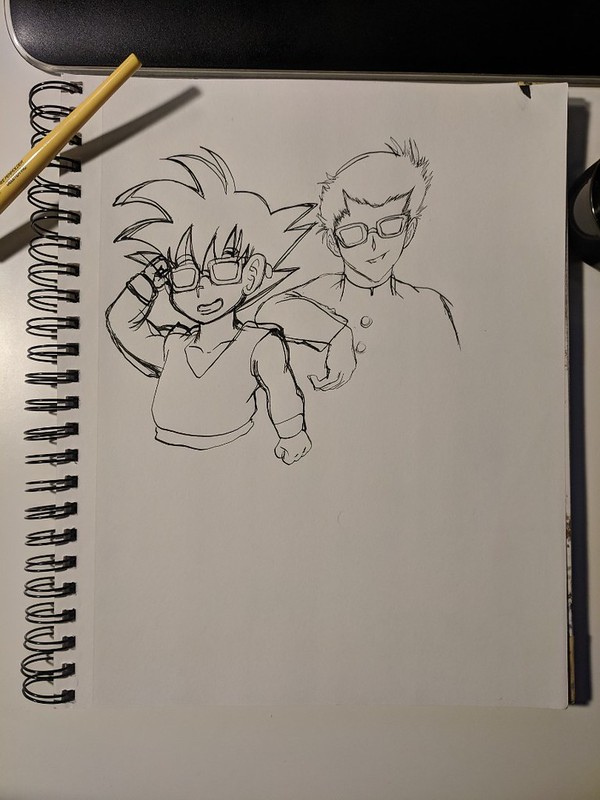
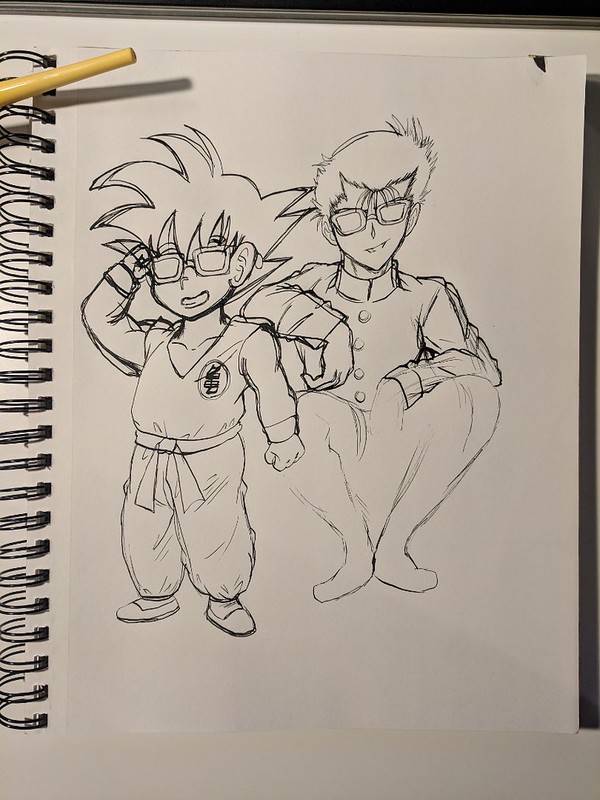
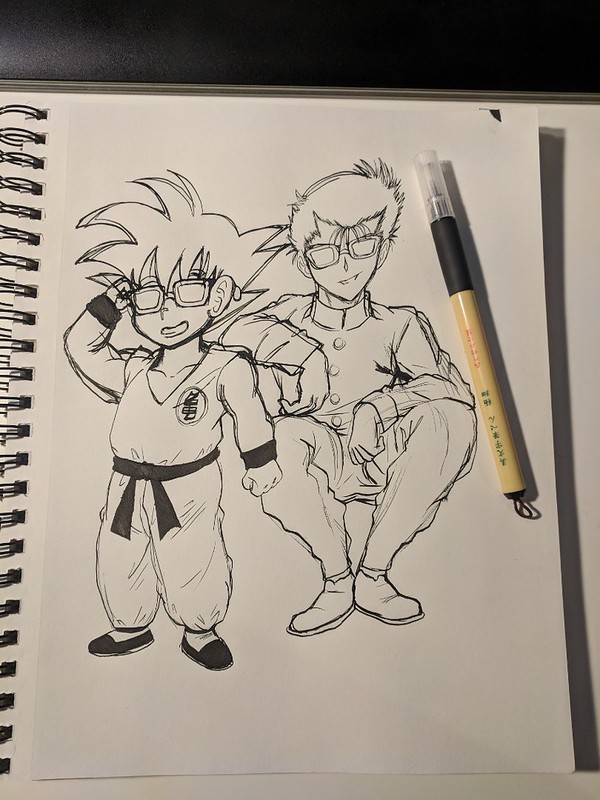
Here is the process for those who are interested:
https://www.flickr.com/photos/darkcloudxero/44216690665/in/dateposted-public/
https://www.flickr.com/photos/darkcloudxero/44216690625/in/dateposted-public/
https://www.flickr.com/photos/darkcloudxero/44216690585/in/dateposted-public/
https://www.flickr.com/photos/darkcloudxero/44216690495/in/dateposted-public/
https://www.flickr.com/photos/darkcloudxero/44216690455/in/dateposted-public/
https://www.flickr.com/photos/darkcloudxero/44216690405/in/dateposted-public/
https://www.flickr.com/photos/darkcloudxero/44216690265/in/dateposted-public/
https://www.flickr.com/photos/darkcloudxero/44216690195/in/dateposted-public/
https://www.flickr.com/photos/darkcloudxero/44216690135/in/dateposted-public/
https://www.flickr.com/photos/darkcloudxero/44216690085/in/dateposted-public/
https://www.flickr.com/photos/darkcloudxero/44216690055/in/dateposted-public/
https://www.flickr.com/photos/darkcloudxero/44216690015/in/dateposted-public/
https://www.flickr.com/photos/darkcloudxero/44407756054/in/dateposted-public/
https://www.flickr.com/photos/darkcloudxero/44216689935/in/dateposted-public/
https://www.flickr.com/photos/darkcloudxero/44216689915/in/dateposted-public/
That should be all for now.
Hasta la proxima,
-NUBE