I mostly finished the Misaka drawing in June 21 then came back to it on August 28 to make some minor changes. Moral of the story, I should have made this post a long time ago… Sorry about that.
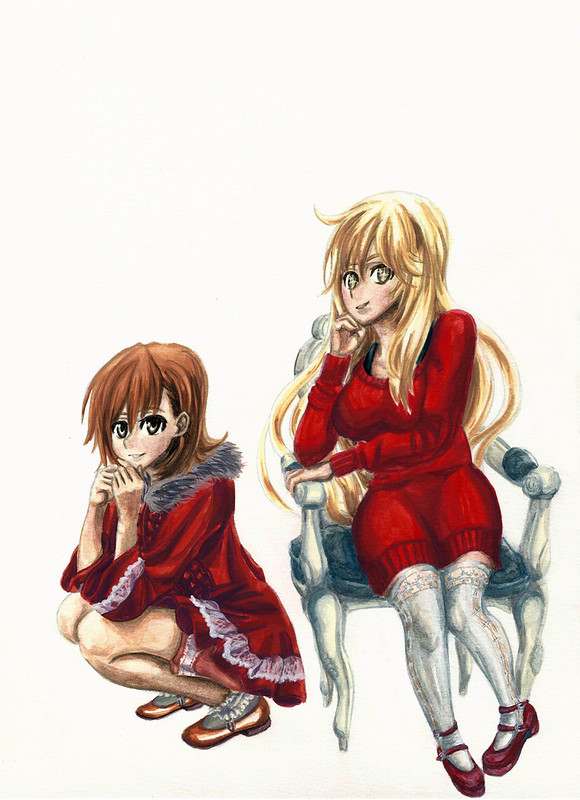
The first artwork to get the honor of being the first in being painted with my new P.H. Martin’s paints is I believe Kaleido Star (assuming that the scanned date is correct, which says it was only by two days, weird). In any case, Ph. Martin’s are quite different and since I am still learnint to use watercolors in general they were a quite hard to understand at the point of making this art piece. But after learning a bit more about watercolors in general I should be able to do better next time I use them. (•̀o•́)ง
In any case, from what I have learned going slow is the best strategy when painting. Especially if one is covering large areas such as backgrounds (something I didn’t do). The reason I bring this up is because just like with the Kaleido Star artwork I mixed both traditional and digital. Mainly because I couldn’t get the color right from the beginining and well, ruined it really. Plus, because I didn’t stretch the paper (something I’m barely trying) the paper of course buckled creating even more problems. (*´Д`)=з
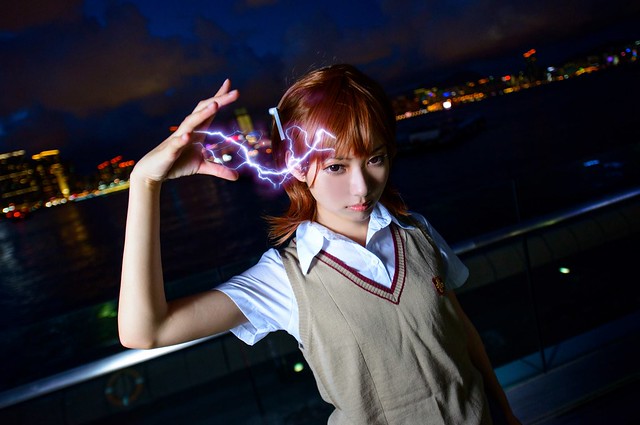
After looking around my reference materials for To Aru Majutsu/Kagaku I came upon this cosplayer who did a spot on Misaka while doing a really interesting pose.
This is the cosplayer, which uploads her pictures on Weibo:
https://weibo.com/p/1005051873372180/home?from=page_100505&mod=TAB&is_hot=1#place
I would link the original picture but they get flagged and taken off. So to prepare for that I will upload it to my flickr (I hope that doesn’t become a problem).
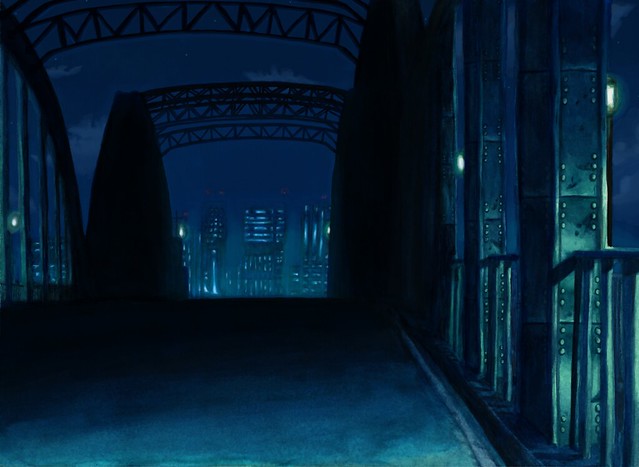
Now as for the background I went through the episodes in To Aru Majutsu and screen captured locations of Academy City. I’ll put the screen captures on flickr in case any of you guys need them. But for now, these are the reference pictures I used.
https://www.flickr.com/photos/darkcloudxero/36449217334/in/dateposted-public/
https://www.flickr.com/photos/darkcloudxero/36449162454/in/dateposted-public/
I could have used the background on the cosplayer reference picture, but I wanted to set it in Academy City. Plus I had (at the point of starting this artwork) recently seen To Aru Kagaku no Railgun with my younger brother.
With that said, here is the process.
First Misaka Mikoto:
I’ll start with the rough drawing.
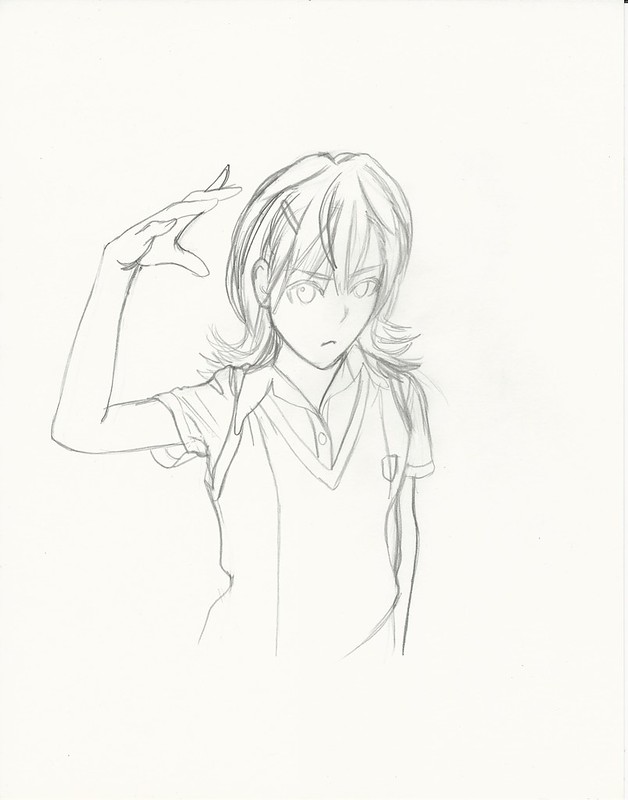
Then I define the lines I want.

First coats of paint.

Adding more details and color to the painting.

Then I try to match the intensity and colors as close as I can with the original painting (the scanner leaves the scanned pictures very dull and lacks the intensity so I have to edit them afterwords). I usually do this edits and then I make another copy and multiply the second copy of the scanned picture to increase the details and colors.
https://www.flickr.com/photos/darkcloudxero/37178825826/in/dateposted-public/
But since the background is blue I tried to change the hues a bit to a cooler color.
https://www.flickr.com/photos/darkcloudxero/36516617344/in/dateposted-public/
With that done I prepare the actual subject (in this case Misaka) so that I can merge it with the background. Of course that means cleaning up and erasing the background. It sure is very time consuming. But it’s worth the effort.

Next I try and match the colors as close as I can so that they merge better and that the subject looks like it actually is in the backgrounds environment. Now, just to make it clear, I made these changes after I merged it with the background.

Ok so Misaka is done and ready, now on to the background. Academy City. More especifically the bridge where Misaka and Touma met on very important ocassions (if you’ve seen the series than you’ll know what I’m talking about).
First are the outlines for the bridge and the city scape.
https://www.flickr.com/photos/darkcloudxero/36516910564/in/dateposted-public/
I’m still having a hard time doine dark color so I want to do more of them in order to understand how to use the colors correctly.
I had a good deal of trouble due to my low expertise, though this was a couple of months ago now, and judging by the recent painting I’m currently working on I have gotten better and am understanding the process a bit more. What I did know at this time is that I had to add layers, though I was going too fast and not doing enough variation in colors.
https://www.flickr.com/photos/darkcloudxero/36556799243/in/dateposted-public/
https://www.flickr.com/photos/darkcloudxero/36516910274/in/dateposted-public/
So this is one of the things I had a lot of problems with, which is caused by adding too much paint. The problem is that the paint starts caking and adds a layer of shiny paint. Not only does it not look good, but it makes adding more layers harder since the paints don’t meld well together at all.
https://www.flickr.com/photos/darkcloudxero/36516909754/in/dateposted-public/
https://www.flickr.com/photos/darkcloudxero/36516909304/in/dateposted-public/
https://www.flickr.com/photos/darkcloudxero/36516909054/in/dateposted-public/
https://www.flickr.com/photos/darkcloudxero/36516908844/in/dateposted-public/
One other thing I wan’t to make a note of is the city scape. My understanding of going from dark to light and vise-versa still perplexed me. So I added colors way to dark and made my work harder when I wanted to add the light haze from the city scape. So because of my inexperience the colors were not coming out like I wanted.
https://www.flickr.com/photos/darkcloudxero/36516908504/in/dateposted-public/
https://www.flickr.com/photos/darkcloudxero/37369420005/in/dateposted-public/
https://www.flickr.com/photos/darkcloudxero/37179363296/in/dateposted-public/
https://www.flickr.com/photos/darkcloudxero/37369418745/in/dateposted-public/
Having the city somewhat done, it’s time to start adding details. Starting with the structure of the bridge.
https://www.flickr.com/photos/darkcloudxero/37179361936/in/dateposted-public/
Then I decided to change the color of the lights and add the rivots of the beams.
https://www.flickr.com/photos/darkcloudxero/37179364656/in/dateposted-public/
https://www.flickr.com/photos/darkcloudxero/37369427445/in/dateposted-public/
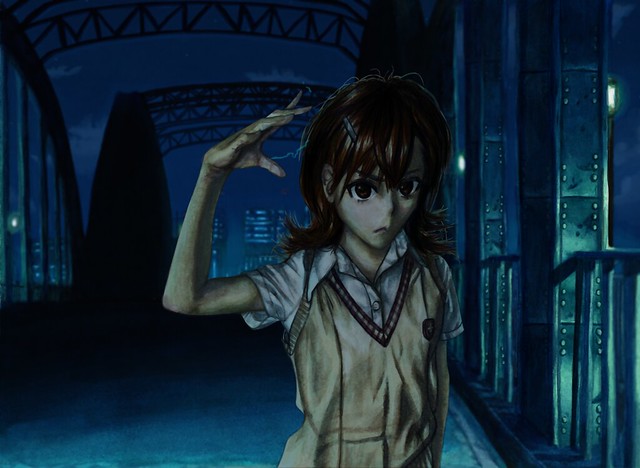
And this is how it looks like with all the digital edits and addtitions. Making it truly Traditional x Digital.
Now that I am satisfied with how it looks, next is merging Misaka with the background.
https://www.flickr.com/photos/darkcloudxero/36517240774/in/dateposted-public/
And to finish it off I added some more blue hues to Misaka so that they merge better.
And well that is the process of creating this art piece. Doing them seperate is interesting and gives me the possibility of doing a “2.5D” artwork if I so choose it. But on the other hand it does require more work and also needs a lot of thought, preperation and changes when merging them. I’ll try to do a “2.5D” piece to see if it’s worth it or not. Time will tell…
Bueno, hasta la proxima,
-NUBE