
To celebrate Mexico’s Independence I decided to do a quick painting of the Ange de Independencia.
Viva Mexico!!!!!
Hasta la proxima,
-NUBE
"A Hopeless Dream Chaser"
To celebrate Mexico’s Independence I decided to do a quick painting of the Ange de Independencia.
Viva Mexico!!!!!
Hasta la proxima,
-NUBE

After weeks, maybe even months I have finally gotten the chance to upload this painting.
Makima scares me.
Hasta la proxima,
-NUBE

Don’t know if I will use this painting as a background later down the line but I just felt like painting a cloud like this. Thinking about it now I didn’t really struggle much like the past attempts.
Hasta la proxima,
-NUBE

The room of the big sister from a certain animation on Youtube.
Hasta la proxima,
-NUBE

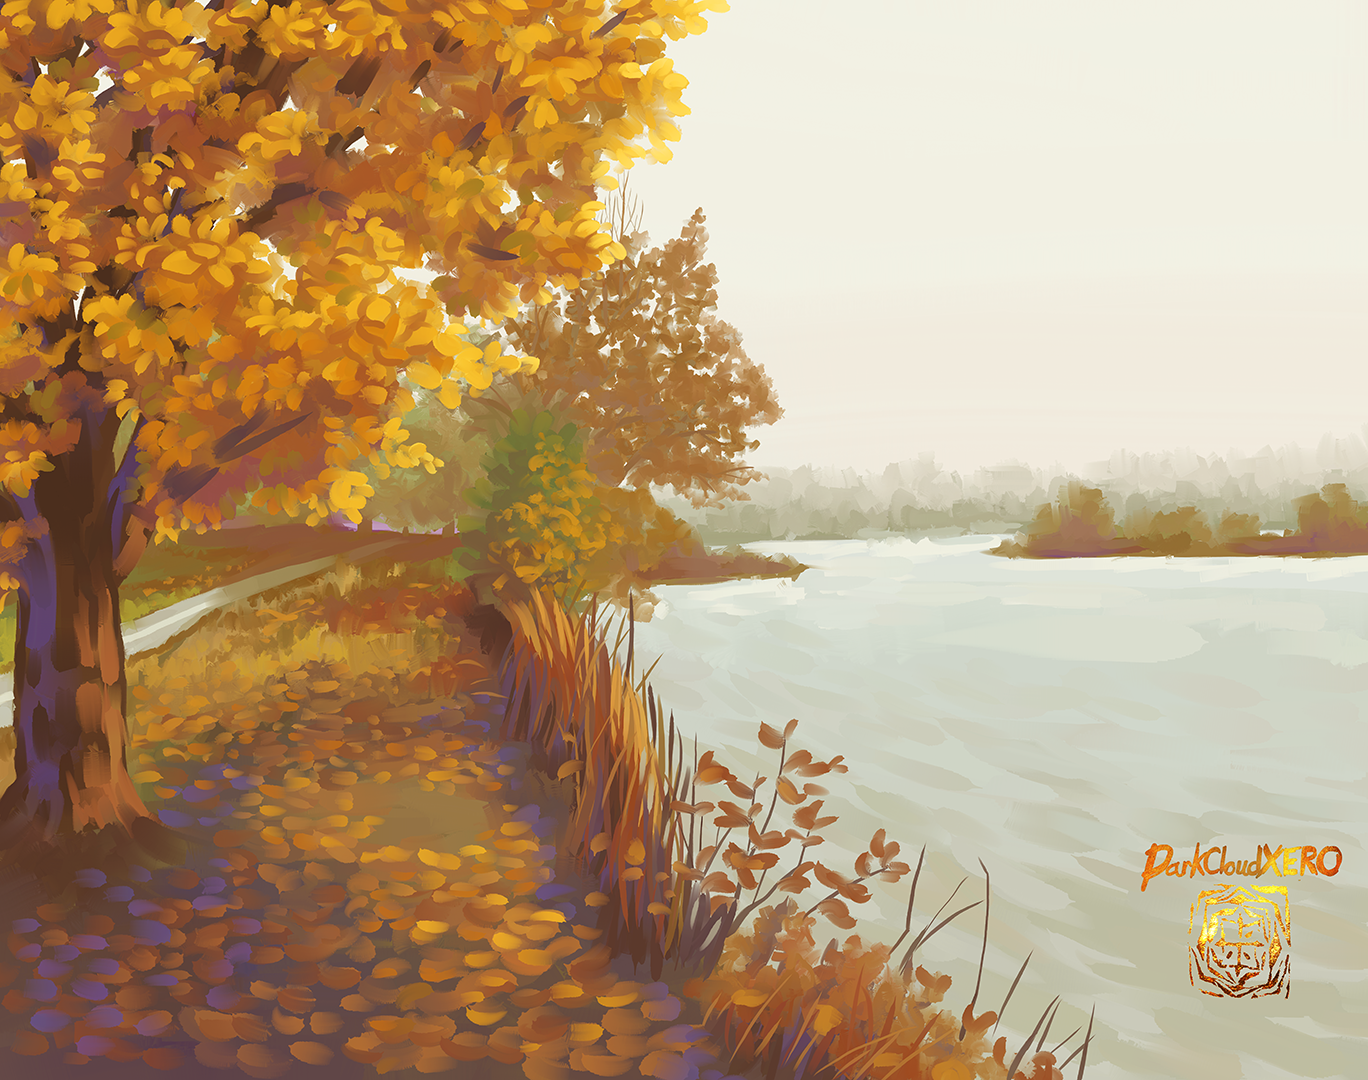
Spring is here. This will be the first painting to commemorate my favorite season.
Hasta la proxima,
-NUBE

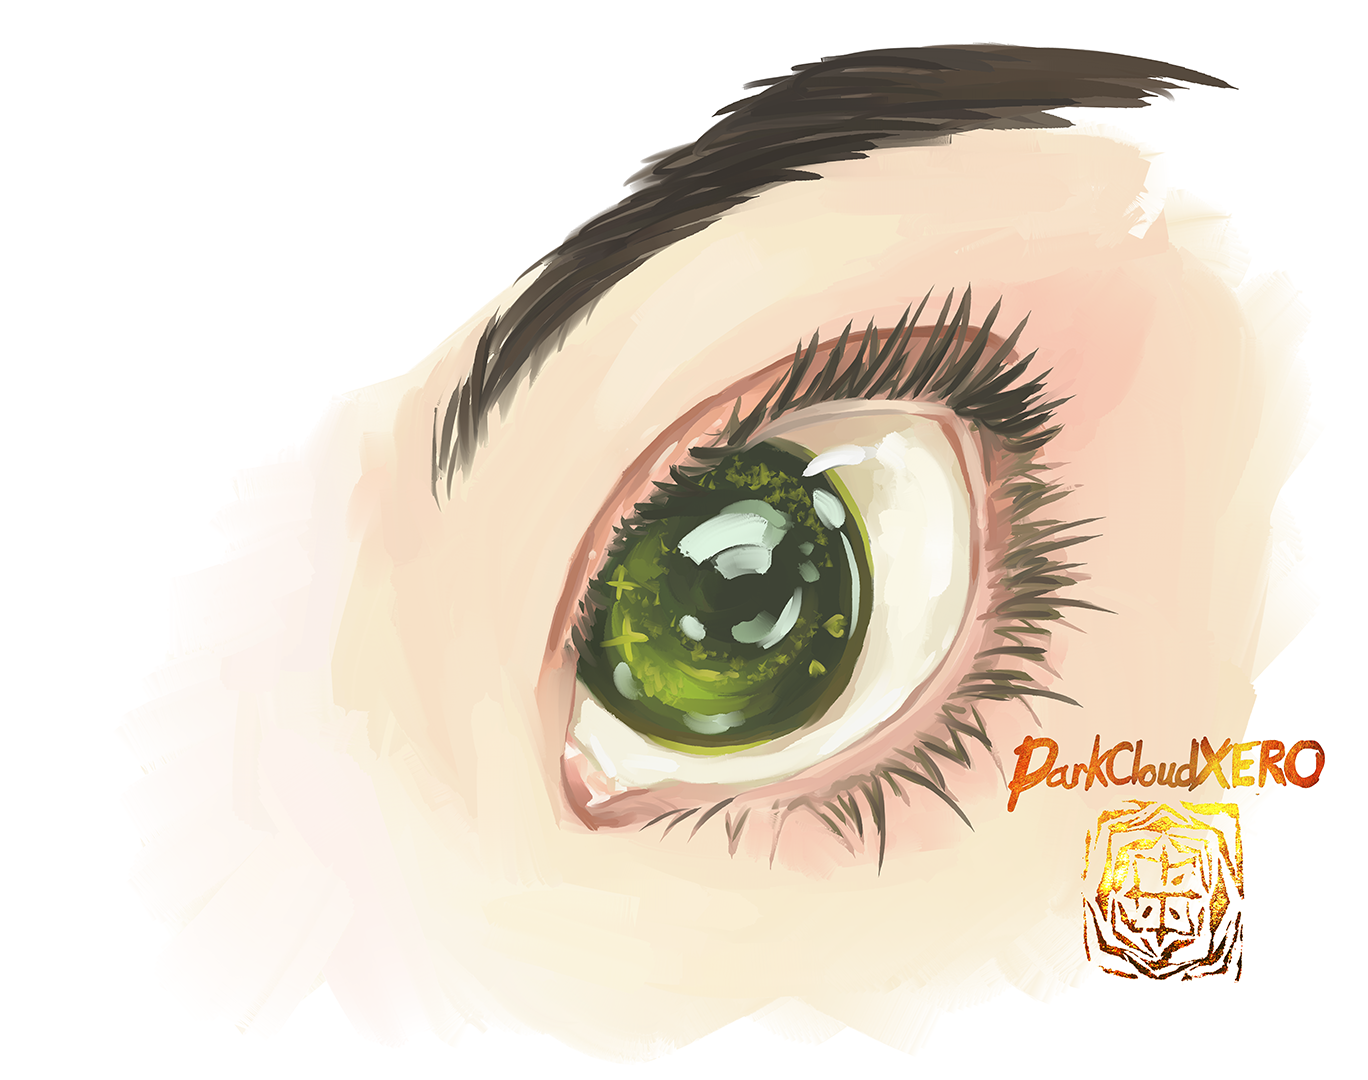
I seem to be a little burnt out so today is just a practice painting of an eye that I found online.
Hasta la proxima,
-NUBE.

There is an illustrator by the name of fjsmu (ふじしむ) that uses some beautiful colors for his paintings. I wanted to give it a try. I believe it uses the concept of color theory. It really makes it pop. I will try to keep this in mind for future paintings.
Hasta la proxima,
-NUBE


I was wondering how I was going about when converting the black and white rough to color, but it was easier than I thought. First I changed the hue and then I made a quick and rough background. I wanted to add in the cityscape but as I kept painting I felt this minimalized background worked quite well. From there adding texture and colors to Godzilla was actually quite straightforward. At some point I felt having three versions of Godzilla in different stages of attack. While I was painting I felt the head and eyes were still derpy and wrong. So I had to make various edits including changing the eye position, size and shape as well as resizing Godzilla’s whole head.
While looking at Gozilla’s first beam attack, I notice a whole lot more details such as light particles appearing when preparing his beams. It’s a shame that we probably won’t be seeing more of Shin Godzilla. He overtook my favorite position from the 90s Godzilla.
Hasta la proxima,
-NUBE

I love the scene where Shin Godzill first uses his atomic breath and other beams. I won’t lie, the first time I saw it on theaters I was surprised and wasn’t too sure about that change. But everytime I saw the movie again I fell in love with this new design and the new abilities. This scene in particular was very touching. The purple color is also a nice touch to differentiate it from other Godzillas.
Hasta la proxima,
-NUBE

Currently working on a painting that I had thought up last year. It’s still a bit rough at the moment, but the main idea has pretty much been painted out using my Surface Pro 5.
So I had bought a used Surface Pro so that I could paint on the go but rarely used it because it couldn’t keep up with the settings I use on my desktop. The canvas size was too large I found out. When I halved the size to around 2500 to 3500 the Surface is actually quite capable. I can’t believe that was all I need to do so that I could use it…
Hasta la proxima,
-NUBE


It took a while but I finally managed to finish this painting to commemorate the 20th anniversary of Berryz Koubou and ℃-ute first known as the Hello Project Kids. I was wondering what I should draw\paint to celebrate and remembered the I believe Hello Morning episode where they announced the finalists who would be joining Hello Project. The delayed reaction of everyone learning that they were all chosen to stay was funny and cute. There was a good delay before they all reacted to the news. This I believe was a great moment to paint since this is where it all began.
Thank you for this past 20 years. And here’s to celebrating the future ones as well.
Hasta la proxima,
-NUBE
It’s been almost a month since I had painted this piece, I can’t believe I have been pushing it back by that much…
The reference comes from Momoko’s final photobook.
The ink painting used can be seen here:
This follows my current practice working with ink brushes, the translucence it contains and the application of paint and how it interacts with it. I have a couple of other pieces that I can use to continue this practice. It’s amazing, but it does have it’s limitations on what can be done (coloring wise). On the other hand, the effects and textures are really unique and interesting.
Hasta la proxima,
-NUBE
